

How to create user tabs with Visual Studio?
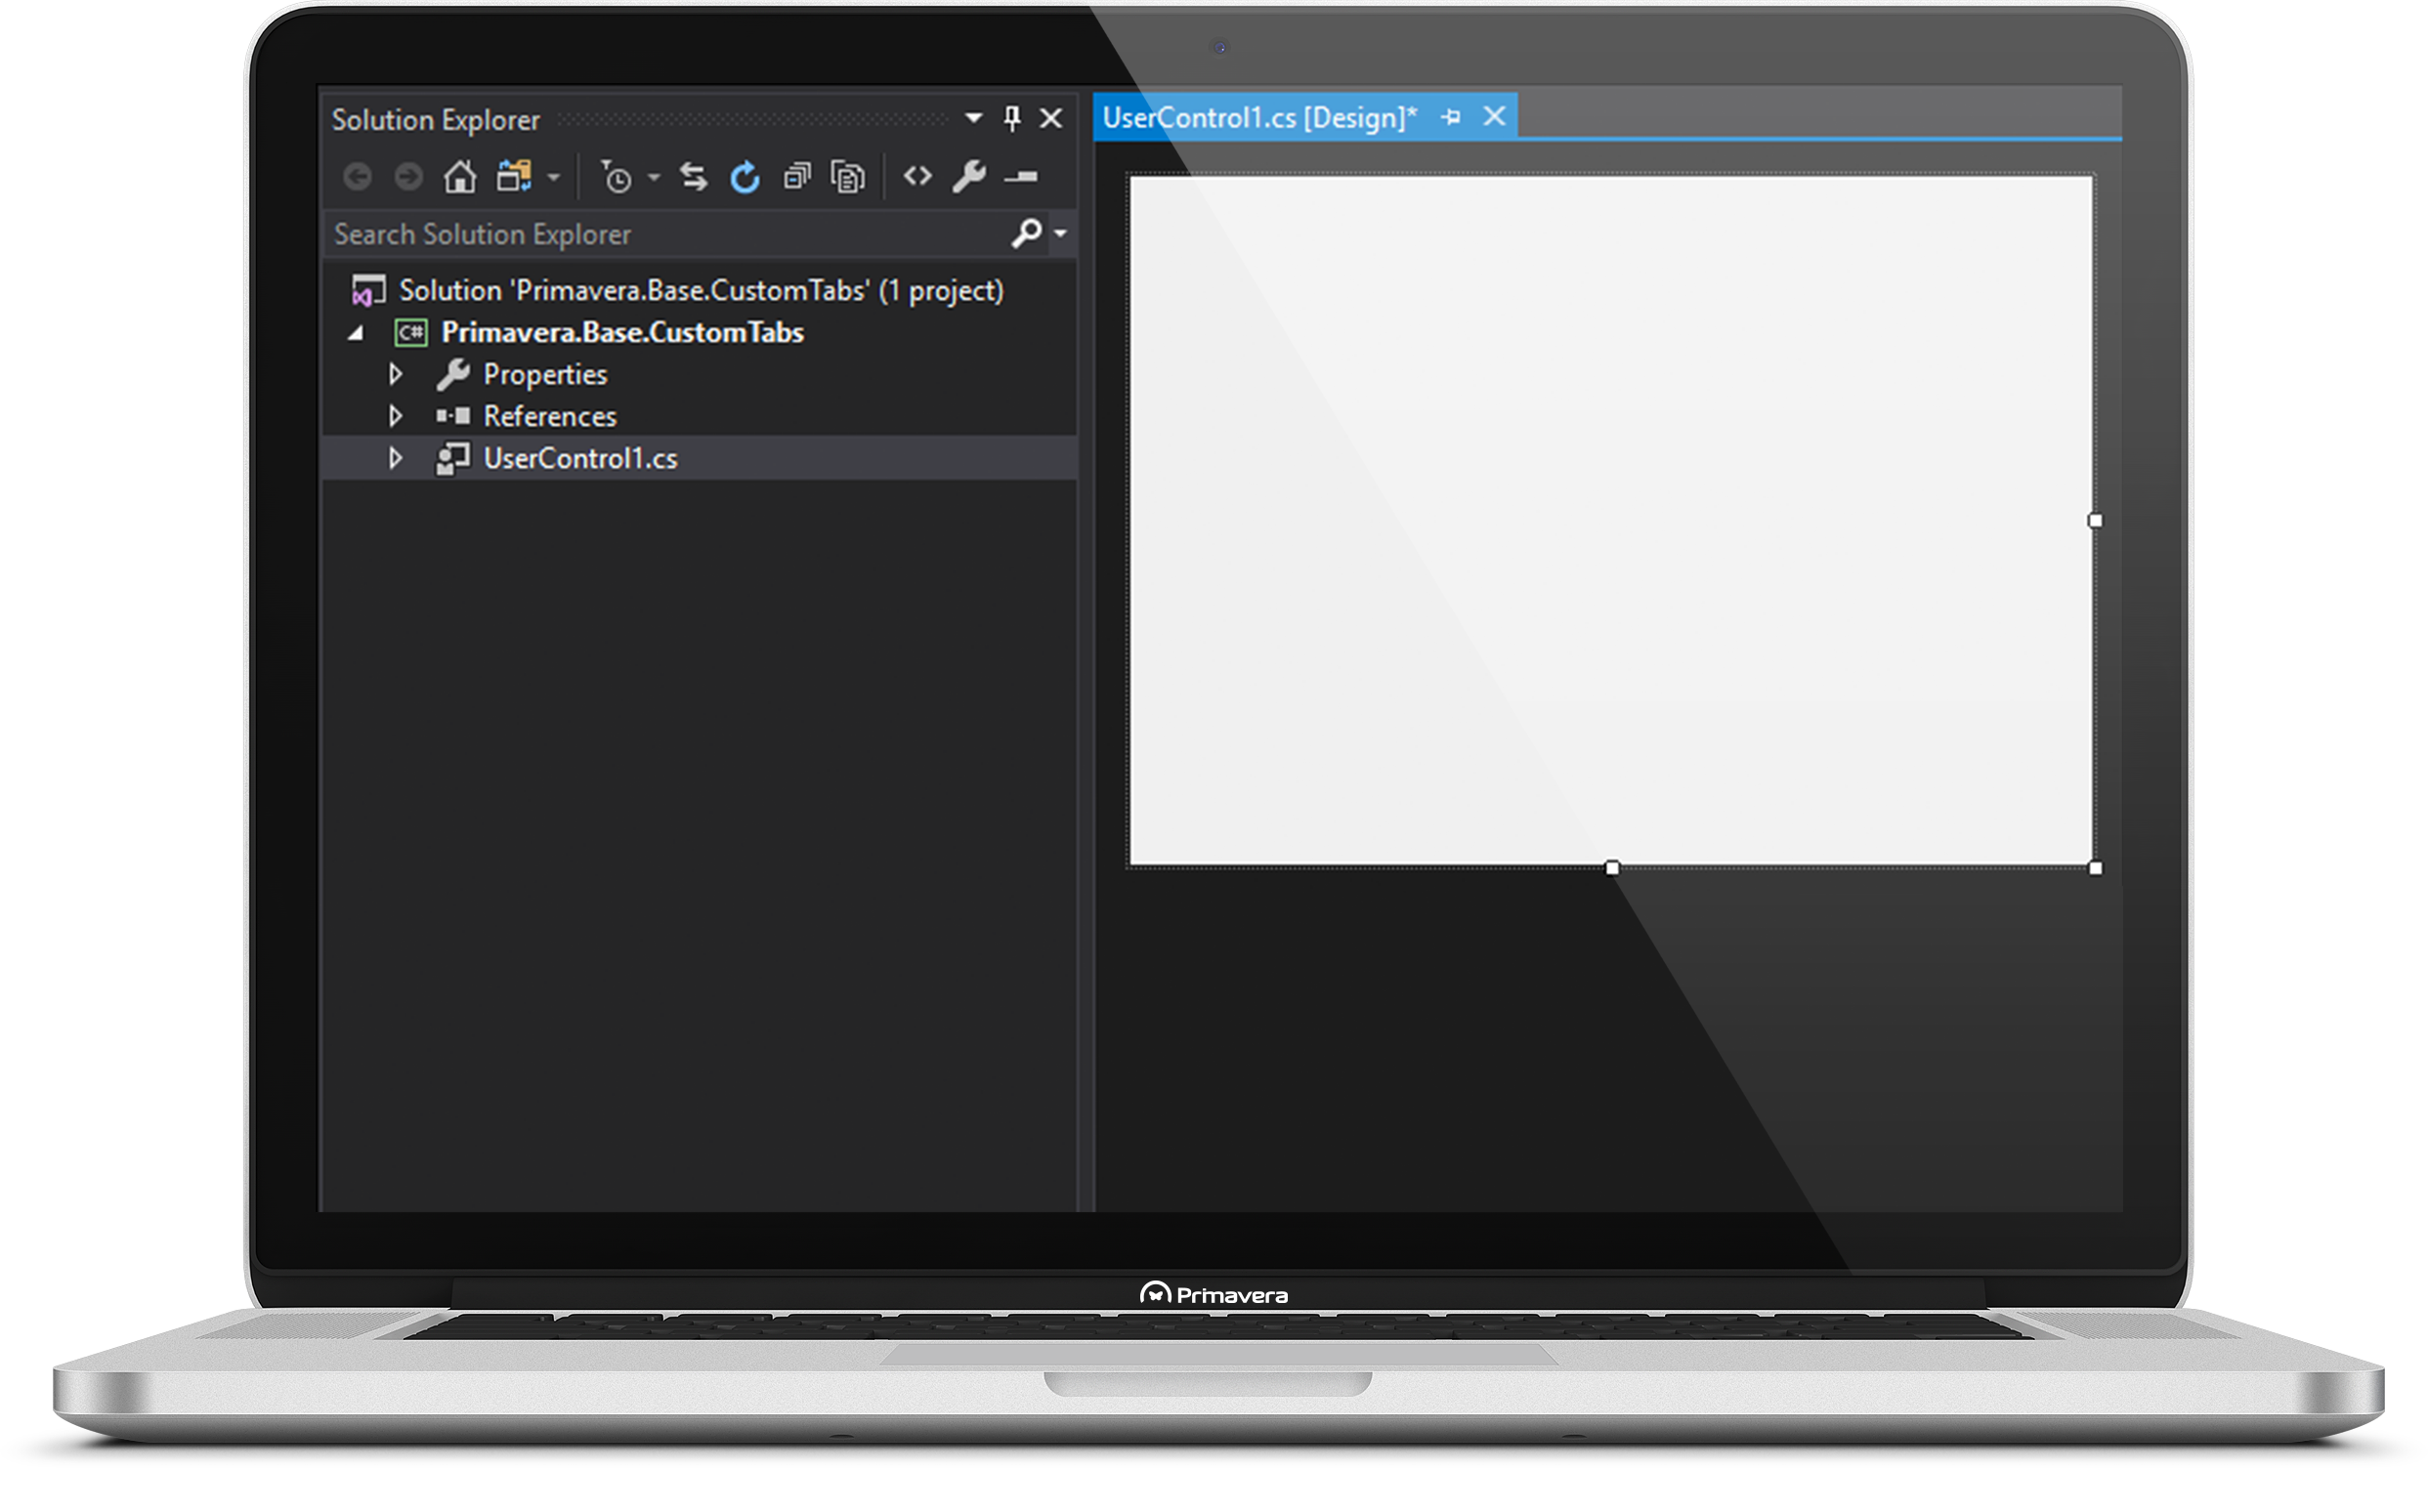
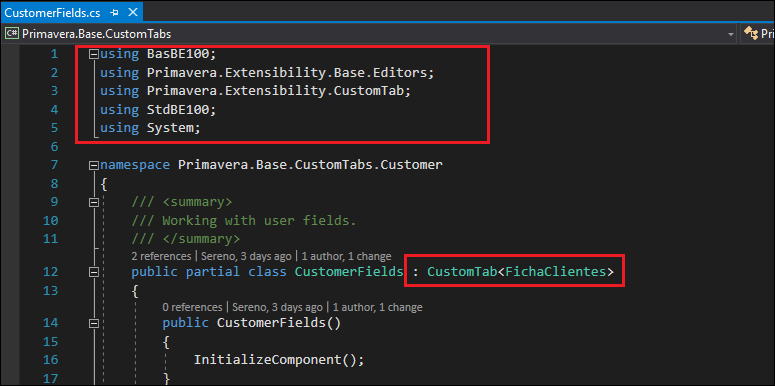
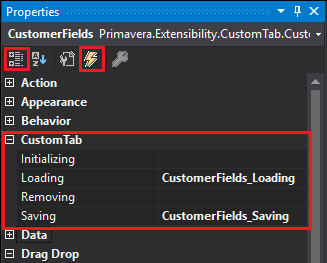
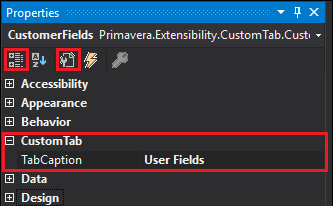
This document describes the steps required to create your first project of user tabs for the PRIMAVERA ERP. Step 1 - Create the project 1 - After opening Visual Studio, select File > New > Project. 2 - From the tree on the left of the displayed window select your development language (C# or VB). 3 - Select the Class Library (.NET Framework) project type. 4 - Assign a name to the 'Primavera.Base.CustomTabs' project and press OK. 5 - Add a User Control to the project. At the end of this step your project should look similar to this: Step 2 - References 1 - After creating the project, you need to add a set of references to the extensibility platform, as well as to the modules that will work Note: All assemblies are located in the 'C:Program Files (x86)PRIMAVERASX100Apl' folder. Step 3 - Link the control to an entity 1 - Rename the control from UserControl1.cs to CustomerFields.cs 2 - At the beginning of the class, add the following namespaces using the using policy. 3 - After the control name add CustomTab. This step indicates that our class will inherit from CustomTab and implement the customer file, which means it will be associated with the customers table. Step 4 - Events 1 - After creating the inheritance to CustomTab, the control will automatically provide access to the four standard events ('Inicializa', 'Carrega', 'Grava' and 'Anula' - Initialize, Load, Save and Cancel). To subscribe to any of these events select the control, press F4 to call the properties window and then select the option to group properties followed by the events option. Step 5 - Tab name 1 - To assign a name to the tab select the control, press F4 and in the properties window select the TabCaption attribute. Step 6 - Add user fields 1 - There are two ways to edit and save the contents of user fields. One is automatic, i.e. without the need to write specific code, and the other is using code writing, both for editing and saving. 2 - To load user fields automatically follow these steps: 4 - Select the Name property and enter the exact name of the previously created User field 5 - Compile and record the application in the ERP PRIMAVERA.Requirements
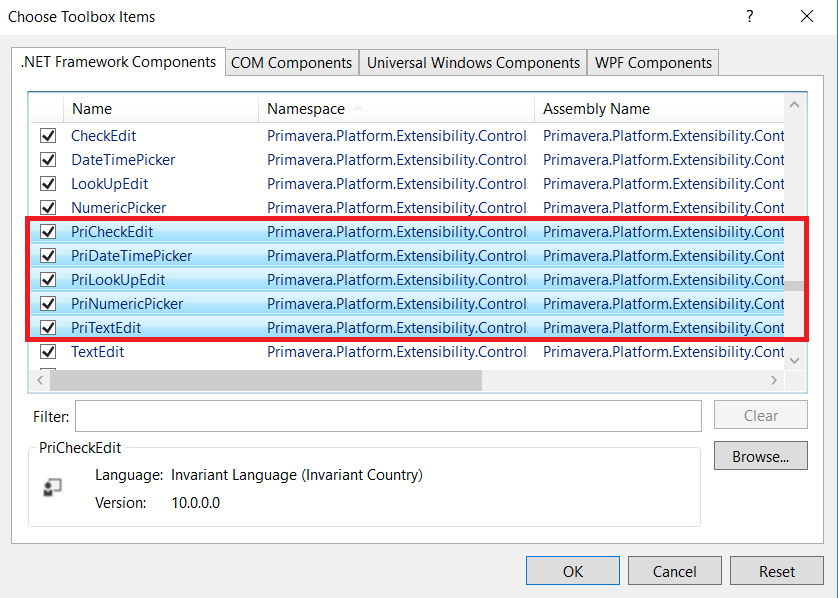 3 - Select and drag the 'PriTextEdit' control into the form.